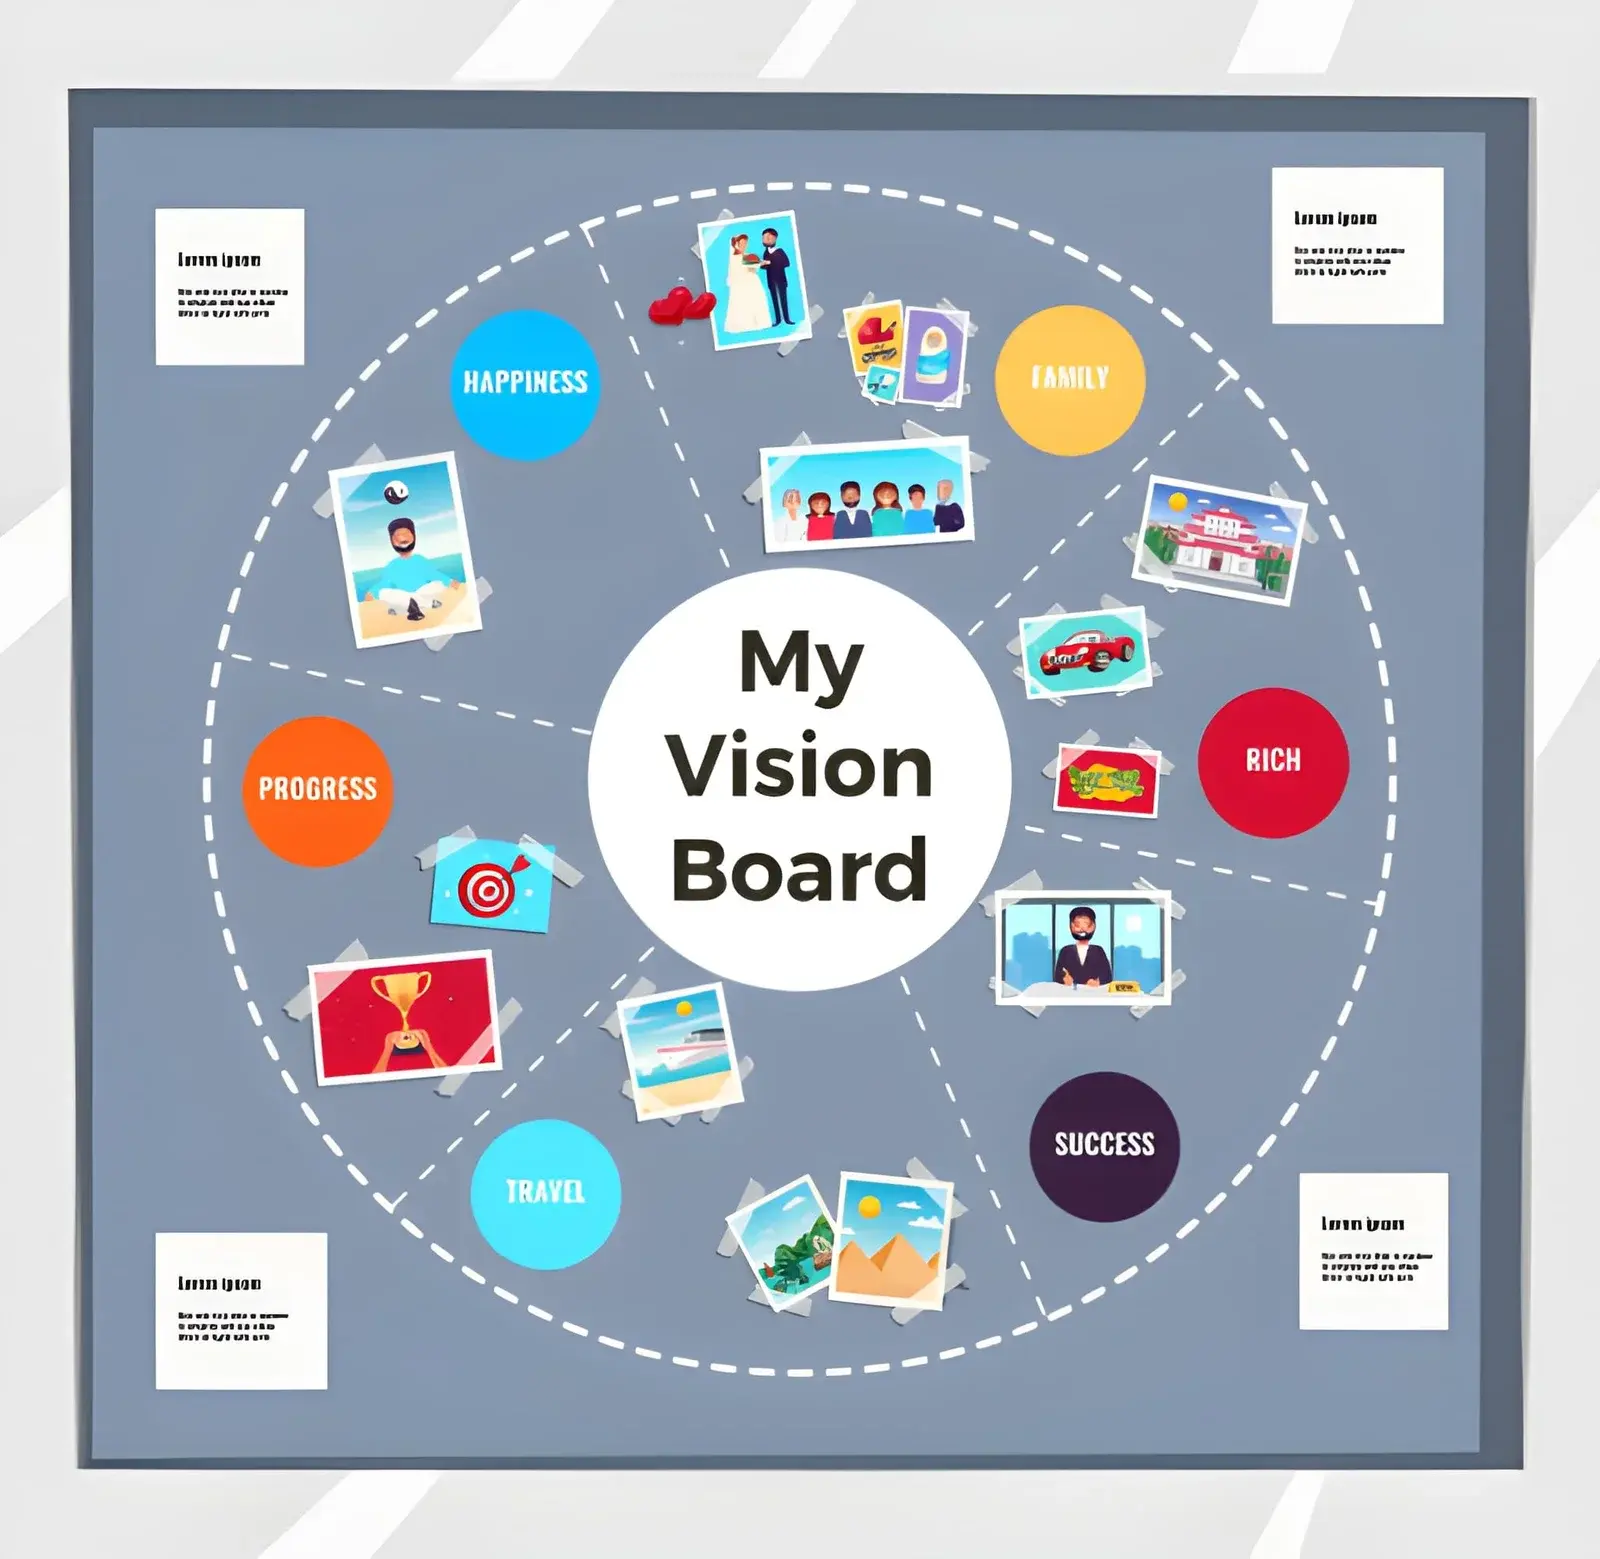

A vision board is a collection of images and words that represents the future you want to work toward. The challenge is finding pictures that feel personal rather than generic. With Dreamina’s ai image generator, you can turn specific goals into custom visuals, experiment with different styles, and build a board that reflects your own priorities. This tutorial explains the process from choosing goals to generating, refining, arranging, and saving a finished digital vision board.
What makes an AI vision board different?
Traditional vision boards often begin with magazine cutouts or saved photos. That works well when you find an image that already expresses your idea. But “a calm workspace in a small apartment” or “the feeling of finishing my first novel” may be harder to represent with an existing picture. AI-generated imagery gives you more control over the setting, mood, objects, and composition.
It does not decide what matters to you. A useful board still needs specific goals and practical next steps. Treat AI as a visual drafting tool, not as a substitute for planning or a guarantee that a wish will come true.
Step 1: Choose three to five goals and a time horizon
Start with a manageable period: the next three months, the coming year, or a particular life transition. A board that attempts to cover every possible dream usually becomes crowded and hard to use.
Write three to five goals in plain language. For example: finish a professional portfolio, create a more restful bedroom, build a consistent reading habit, take a meaningful trip, and spend more time outdoors. Then ask what visible evidence would suggest progress. “Improve my career” might become “a completed portfolio displayed on a laptop.” “Travel more” might become “a train journey through a coastal town.”
Include process goals as well as outcomes. A finished portfolio is motivating, but a quiet desk and a weekly work session show what progress actually looks like. This balance keeps the board from becoming a collection of distant rewards.
Step 2: Translate each goal into an image prompt
An effective prompt describes a scene, not merely an aspiration. Include the subject, environment, visual style, lighting, color palette, and framing. Avoid asking the generator to communicate several unrelated ideas in one small image.
For a career goal, try:
“A bright, organized home office with a wooden desk, an open design portfolio on a laptop, a notebook with blank pages, and soft morning sunlight. Realistic lifestyle photography, warm neutral palette, calm and focused atmosphere, horizontal composition, no lettering or logos.”
For a travel goal, try:
“A quiet Mediterranean coastal town at sunrise, a small railway station near the sea, a traveler’s canvas bag in the foreground, pale blue water, warm stone buildings, natural travel photography, soft golden light, no text.”
For a wellness goal, try:
“A peaceful morning routine beside a sunlit window, yoga mat, glass of water, green plants, soft linen textures, realistic editorial photography, muted sage and cream colors, uncluttered composition, no text.”
Notice that these prompts describe visible details. The generator cannot reliably illustrate “confidence” or “success” without context, but it can depict the environments and activities you associate with those feelings.
Step 3: Generate the first version
Open the AI image creation area and enter one prompt. Dreamina’s official vision-board tutorial describes a straightforward workflow: write a prompt in Generate, optionally upload a reference image, choose a model and output settings, generate variations, and download the preferred result. The exact interface and available models may change, so follow the options visible in your account.
Choose an aspect ratio based on how you will use the image. A wide image works well as a background or central panel; a portrait-oriented image may fit a phone wallpaper or narrow collage column. Higher-resolution settings can help when you plan to print, but check the actual output before assuming it is suitable for a large poster.
Review the results against the original goal. Does the scene feel personal? Is the important subject easy to identify? Are there distracting objects, awkward hands, or strange text-like marks? Select the strongest variation, not necessarily the most elaborate one.
Step 4: Refine the prompt instead of starting over blindly
If the first result misses the mark, change one or two instructions at a time. This helps you understand what made the difference.
Suppose the career image looks like a luxury office rather than a realistic place to work. Revise the prompt to say “modest apartment desk, practical equipment, no expensive furniture.” If the scene is too busy, add “minimal objects, generous negative space.” If it feels cold, request “warm morning light and natural wood textures.”
Reference images can also help communicate a preferred mood or visual direction when that option is available. Use images you have permission to upload. Be especially careful with personal photos and identifiable people.
Keep a short note of the prompts that worked. You may want to regenerate a scene later with a different crop or color palette, and a saved prompt makes that easier.
Step 5: Give the images a consistent visual language
A vision board can contain different subjects without looking like seven unrelated advertisements. Choose two or three recurring design rules: perhaps warm neutrals, natural light, and realistic photography; or pastel illustration, simple shapes, and gentle shadows.
Apply those rules to each prompt. For example, a travel image and a home-office image can share soft golden light and muted colors even though the subjects differ. Consistency makes the board easier to scan and helps the main message stand out.
Do not force every picture into the same composition. Mix a wide establishing scene, a close-up detail, and one image with open space for a caption. Variation creates rhythm; a shared palette provides unity.
Step 6: Assemble the vision board on a canvas
Once you have several usable images, arrange them into a single composition. The official Dreamina tutorial describes a “Create on canvas” workflow: upload your images, adjust their placement, use text for short messages, and export the finished design. It also describes tools such as Expand and HD Upscale for supported editing tasks.
Begin by deciding where the board will live. A desktop wallpaper needs a landscape layout and room for desktop icons. A phone wallpaper needs a vertical composition with important details away from interface overlays. A printable board should have enough resolution and legible text at the intended print size.
Put your most important goal near the center or in the largest panel. Group related goals together, leaving some space between clusters. You can use a loose collage, a clean grid, or a single AI-generated multi-scene composition. A grid is easiest to revise; a collage feels more expressive; a single composite image is quick but gives you less control over individual elements.
If a canvas feature is unavailable in your version of the tool, download the images and arrange them in another editor. The design principles remain the same.
Step 7: Add words that lead to action
Pictures create emotional context; captions give them direction. Use short, concrete phrases instead of long motivational paragraphs. “Finish three portfolio projects by June” is more useful than “Become unstoppable.” “Walk outside four mornings a week” is more actionable than “Live healthier.”
For important words, add text in an editor rather than relying entirely on AI to render precise lettering inside a generated picture. This lets you correct spelling, choose readable typography, and update dates without regenerating the image.
A good board combines three layers: an inspiring destination, a repeated behavior, and a near-term milestone. For a travel goal, that could be a destination image, a monthly savings reminder, and a date for researching transport. For a creative goal, it could be a finished project, a weekly practice block, and a first draft deadline.
Step 8: Export, test, and revisit
Before exporting, zoom out until the board is approximately the size at which you will normally view it. Can you identify the main goal within a few seconds? Are the captions legible? Does any image feel irrelevant or visually overpower the rest?
Download the completed board in a format appropriate for its destination. Test a wallpaper on the actual device, or print a small proof before ordering a larger version. Check cropping and text placement rather than assuming the editor preview matches the final display.
Review the board every month or at another interval that suits your goals. Replace images when your priorities change, mark completed milestones, and remove goals that no longer fit. Updating a board is not failure; it is evidence that your plan is responding to real life.
Three common mistakes to avoid
First, choosing only glamorous outcome images. A dream home or distant destination can inspire you, but add scenes that represent the work and choices needed to get there.
Second, writing vague prompts. “Beautiful successful life” leaves almost every visual decision to the generator. Specific places, objects, lighting, and actions produce images that are easier to evaluate and use.
Third, filling every inch. A crowded board makes all goals seem equally urgent. Limit the number of images, preserve breathing room, and make the highest-priority idea visually dominant.
A simple example: a one-year creative career board
Imagine someone preparing to transition into freelance design. Their board could include a realistic desk scene for daily practice, a portfolio displayed on a laptop for the main outcome, a small meeting table for client conversations, and a quiet weekend landscape for work-life balance. Each image would share warm natural lighting and restrained colors.
The captions might read “Two portfolio projects each quarter,” “Reach out to five potential collaborators monthly,” and “Protect one screen-free afternoon weekly.” None of these images guarantees a career change. Together, however, they make the desired direction visible and connect it to decisions that can be taken now.
Final thoughts
Making an AI vision board is not about generating the most impressive pictures. It is about choosing meaningful goals, translating them into specific scenes, refining the images, and arranging them so they remain useful after the initial excitement fades.
Start small, keep the design personal, and let the board evolve. The best vision board does not simply show a future you admire; it helps you recognize the next action that could move you toward it.
Also read